Getting Started with AWS IAM

Hey, I am Kritika Singhal. I am a DevOps Engineer and cloud enthusiast.
I am creating a series for AWS in which I am going to explore different services in AWS for DevOps specifically. In this article, we will be diving into IAM.
Introduction
When we create an AWS account we start with a single sign-in identity. This identity is the root user which has complete access to AWS services and resources in the account. In best practices, we should not use the AWS root user account for daily tasks.
Identity and Access Management
Identity and Access Management(IAM) in AWS helps to safeguard the root user access. IAM helps to centrally manage permissions that control which AWS resources can be accessed by whom hence controlling authetication and authorization to use resources.
Users, Roles and Groups
IAM user is an entity that is used to interact with AWS. By default, a new IAM user has no permission to do anything.
IAM group allows to specify permissions for multiple users. For example, if we create a group 'Dev' and provide read-only permission to it. Then all the users added to that group will have read permission automatically.
Roles are similar to IAM users. But they have been created to be assumable by anyone who needs it. Hence they are assigned temporarily to perform a task and when it is completed the role is reverted.
Demo
Let's see how to create an IAM user and assign permission to it.
To create an IAM user, we need to first log in AWS root user account. Then search for IAM in the search tab and click on it. You will be landed on the dashboard.
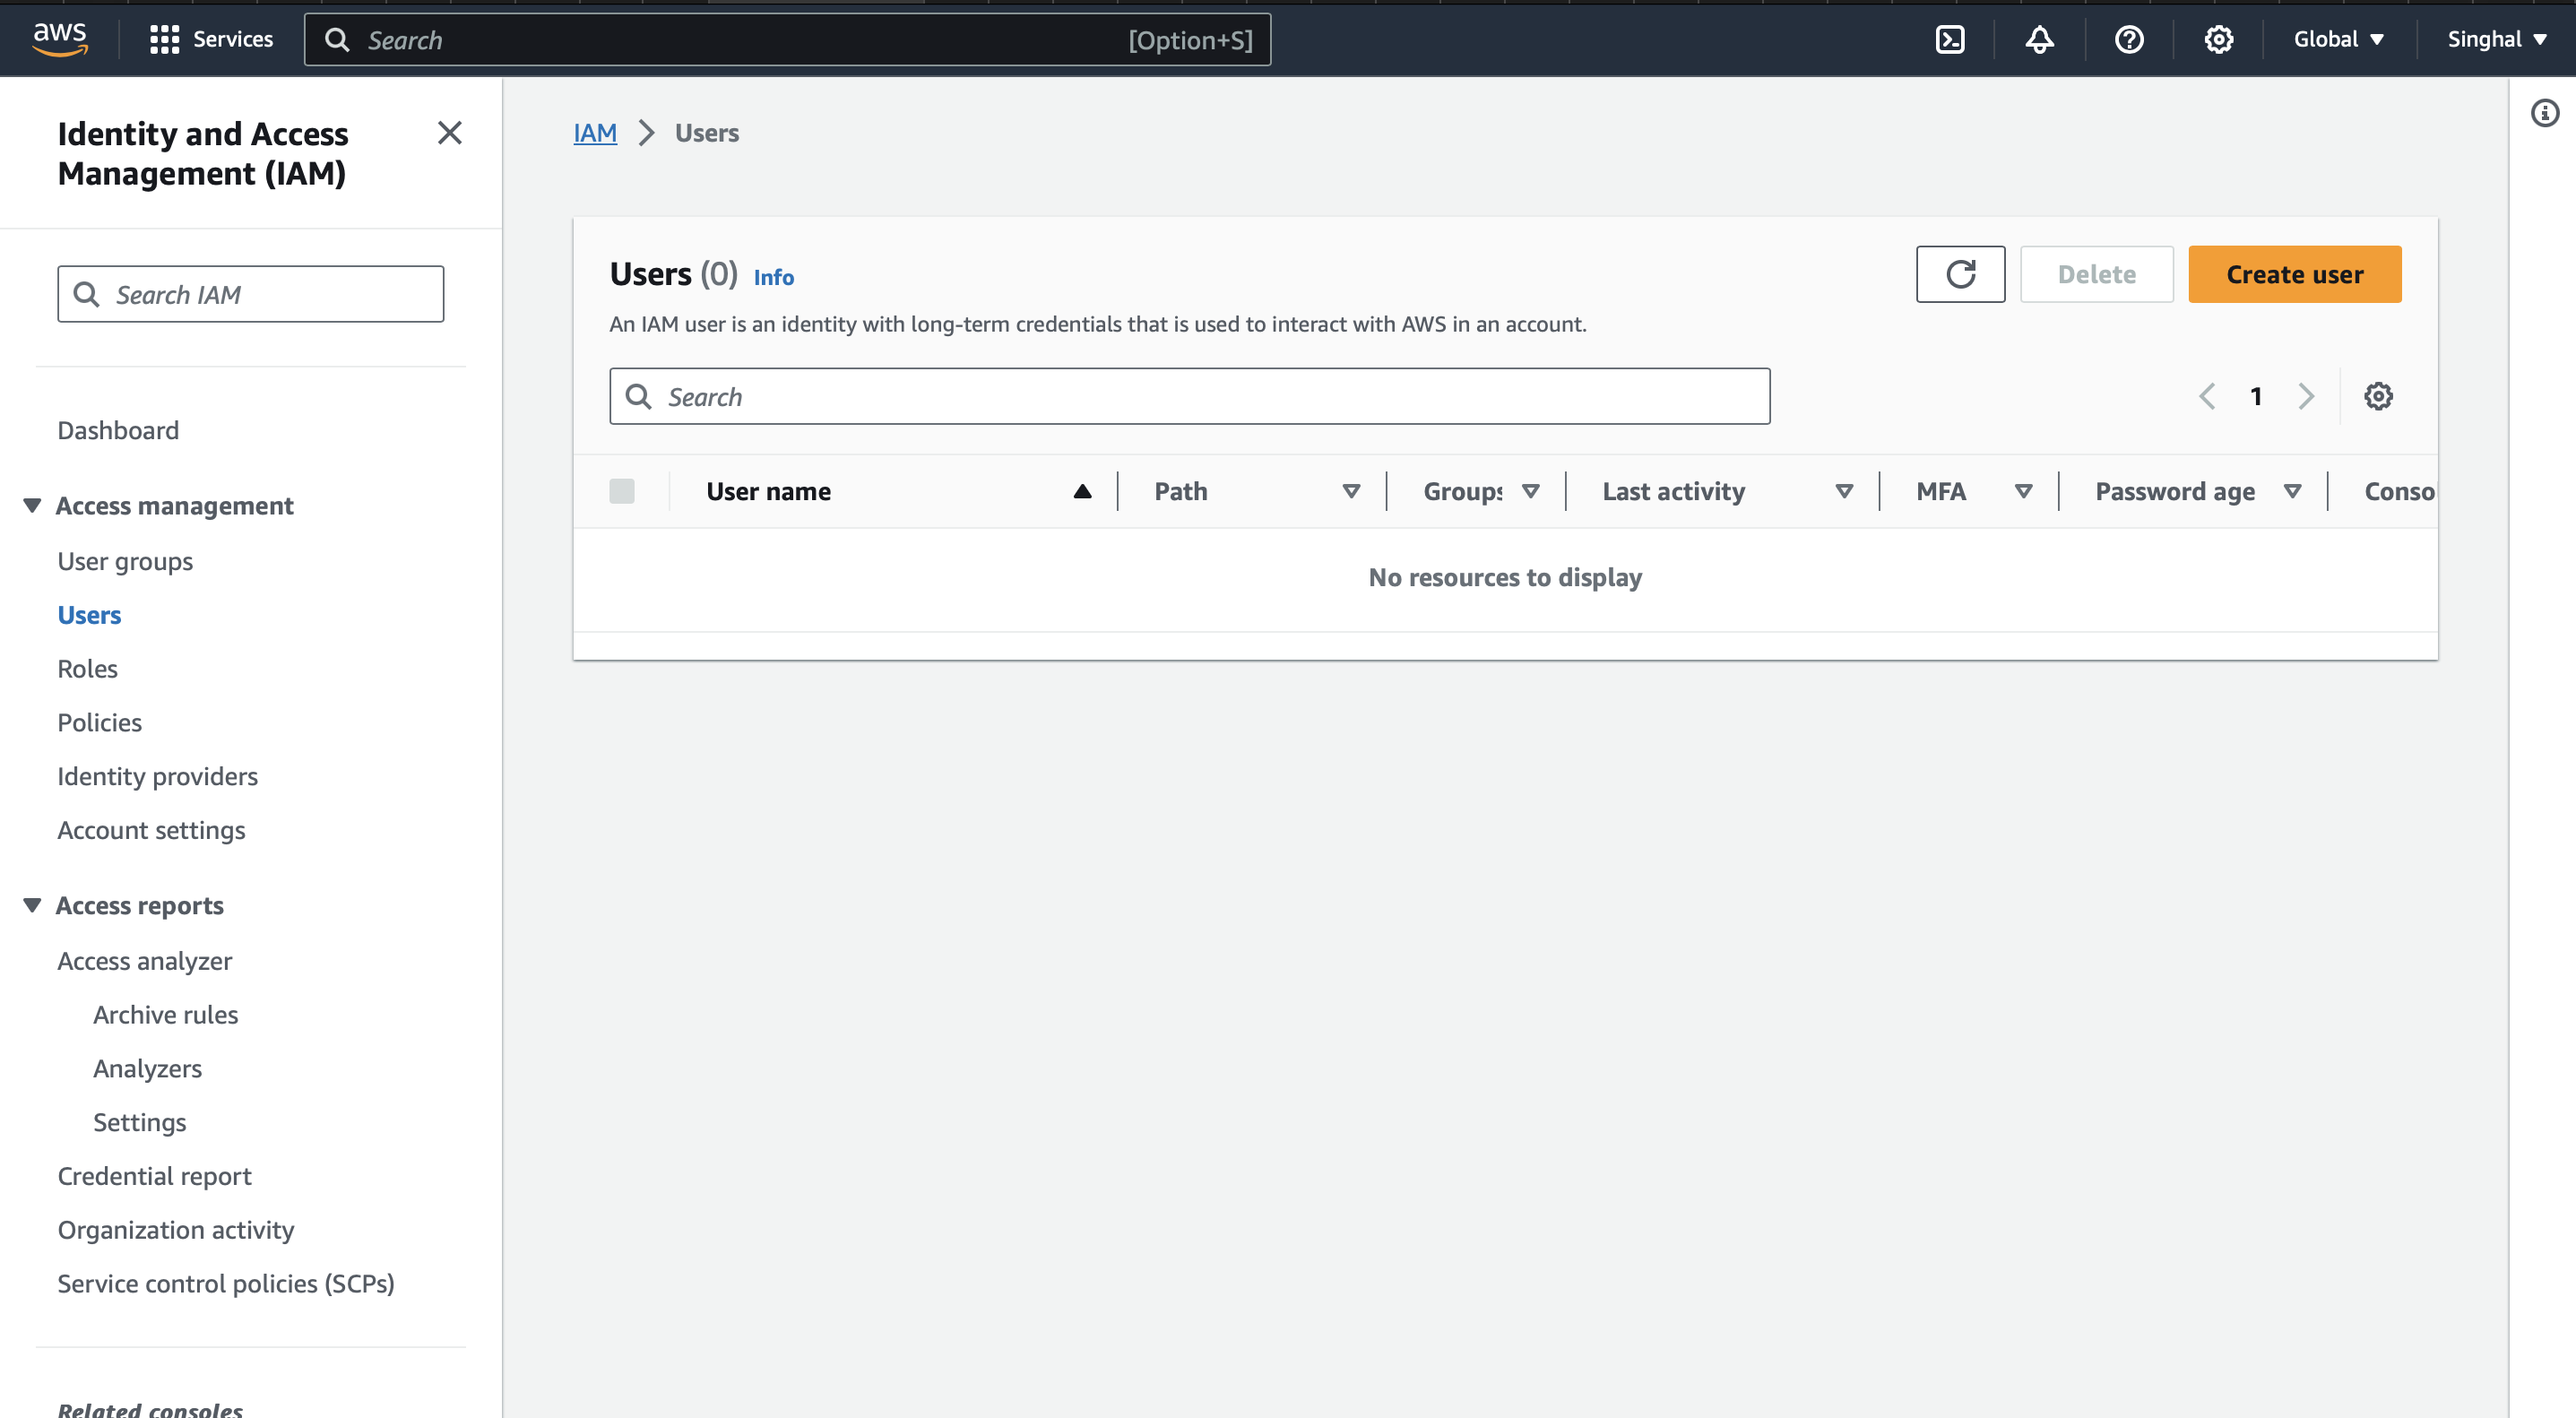
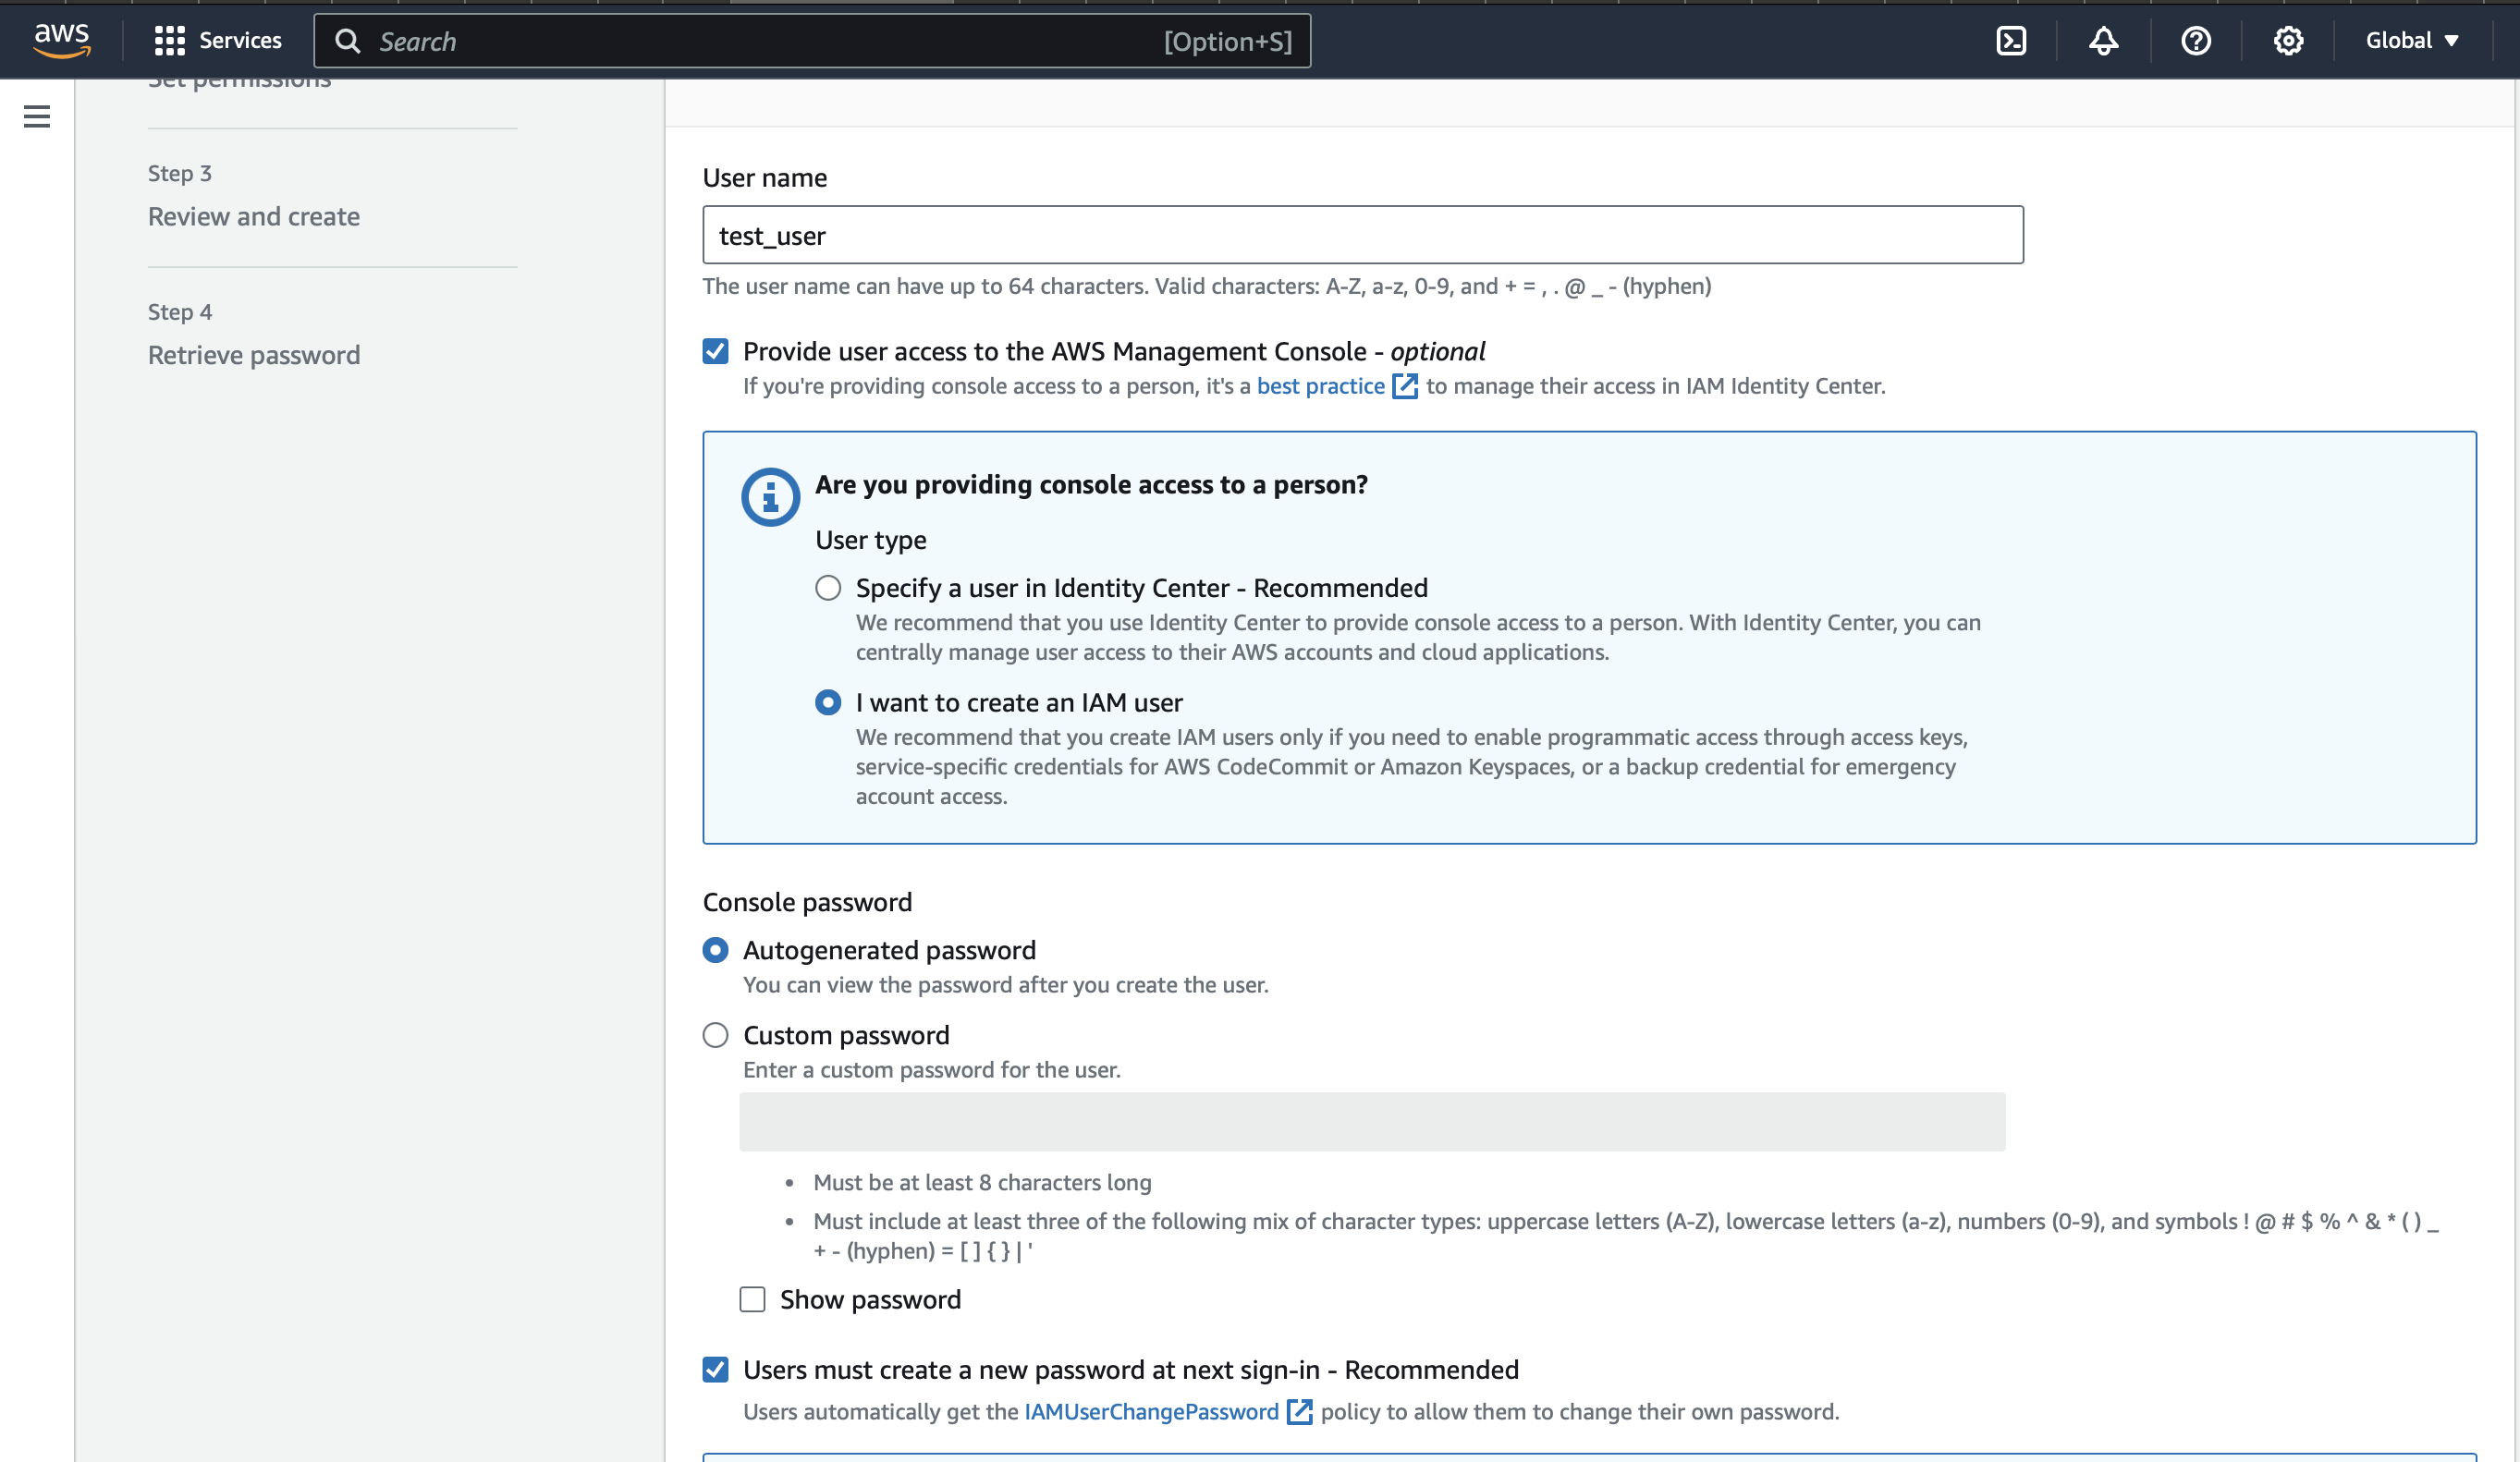
Click on Create User and specify the user details.
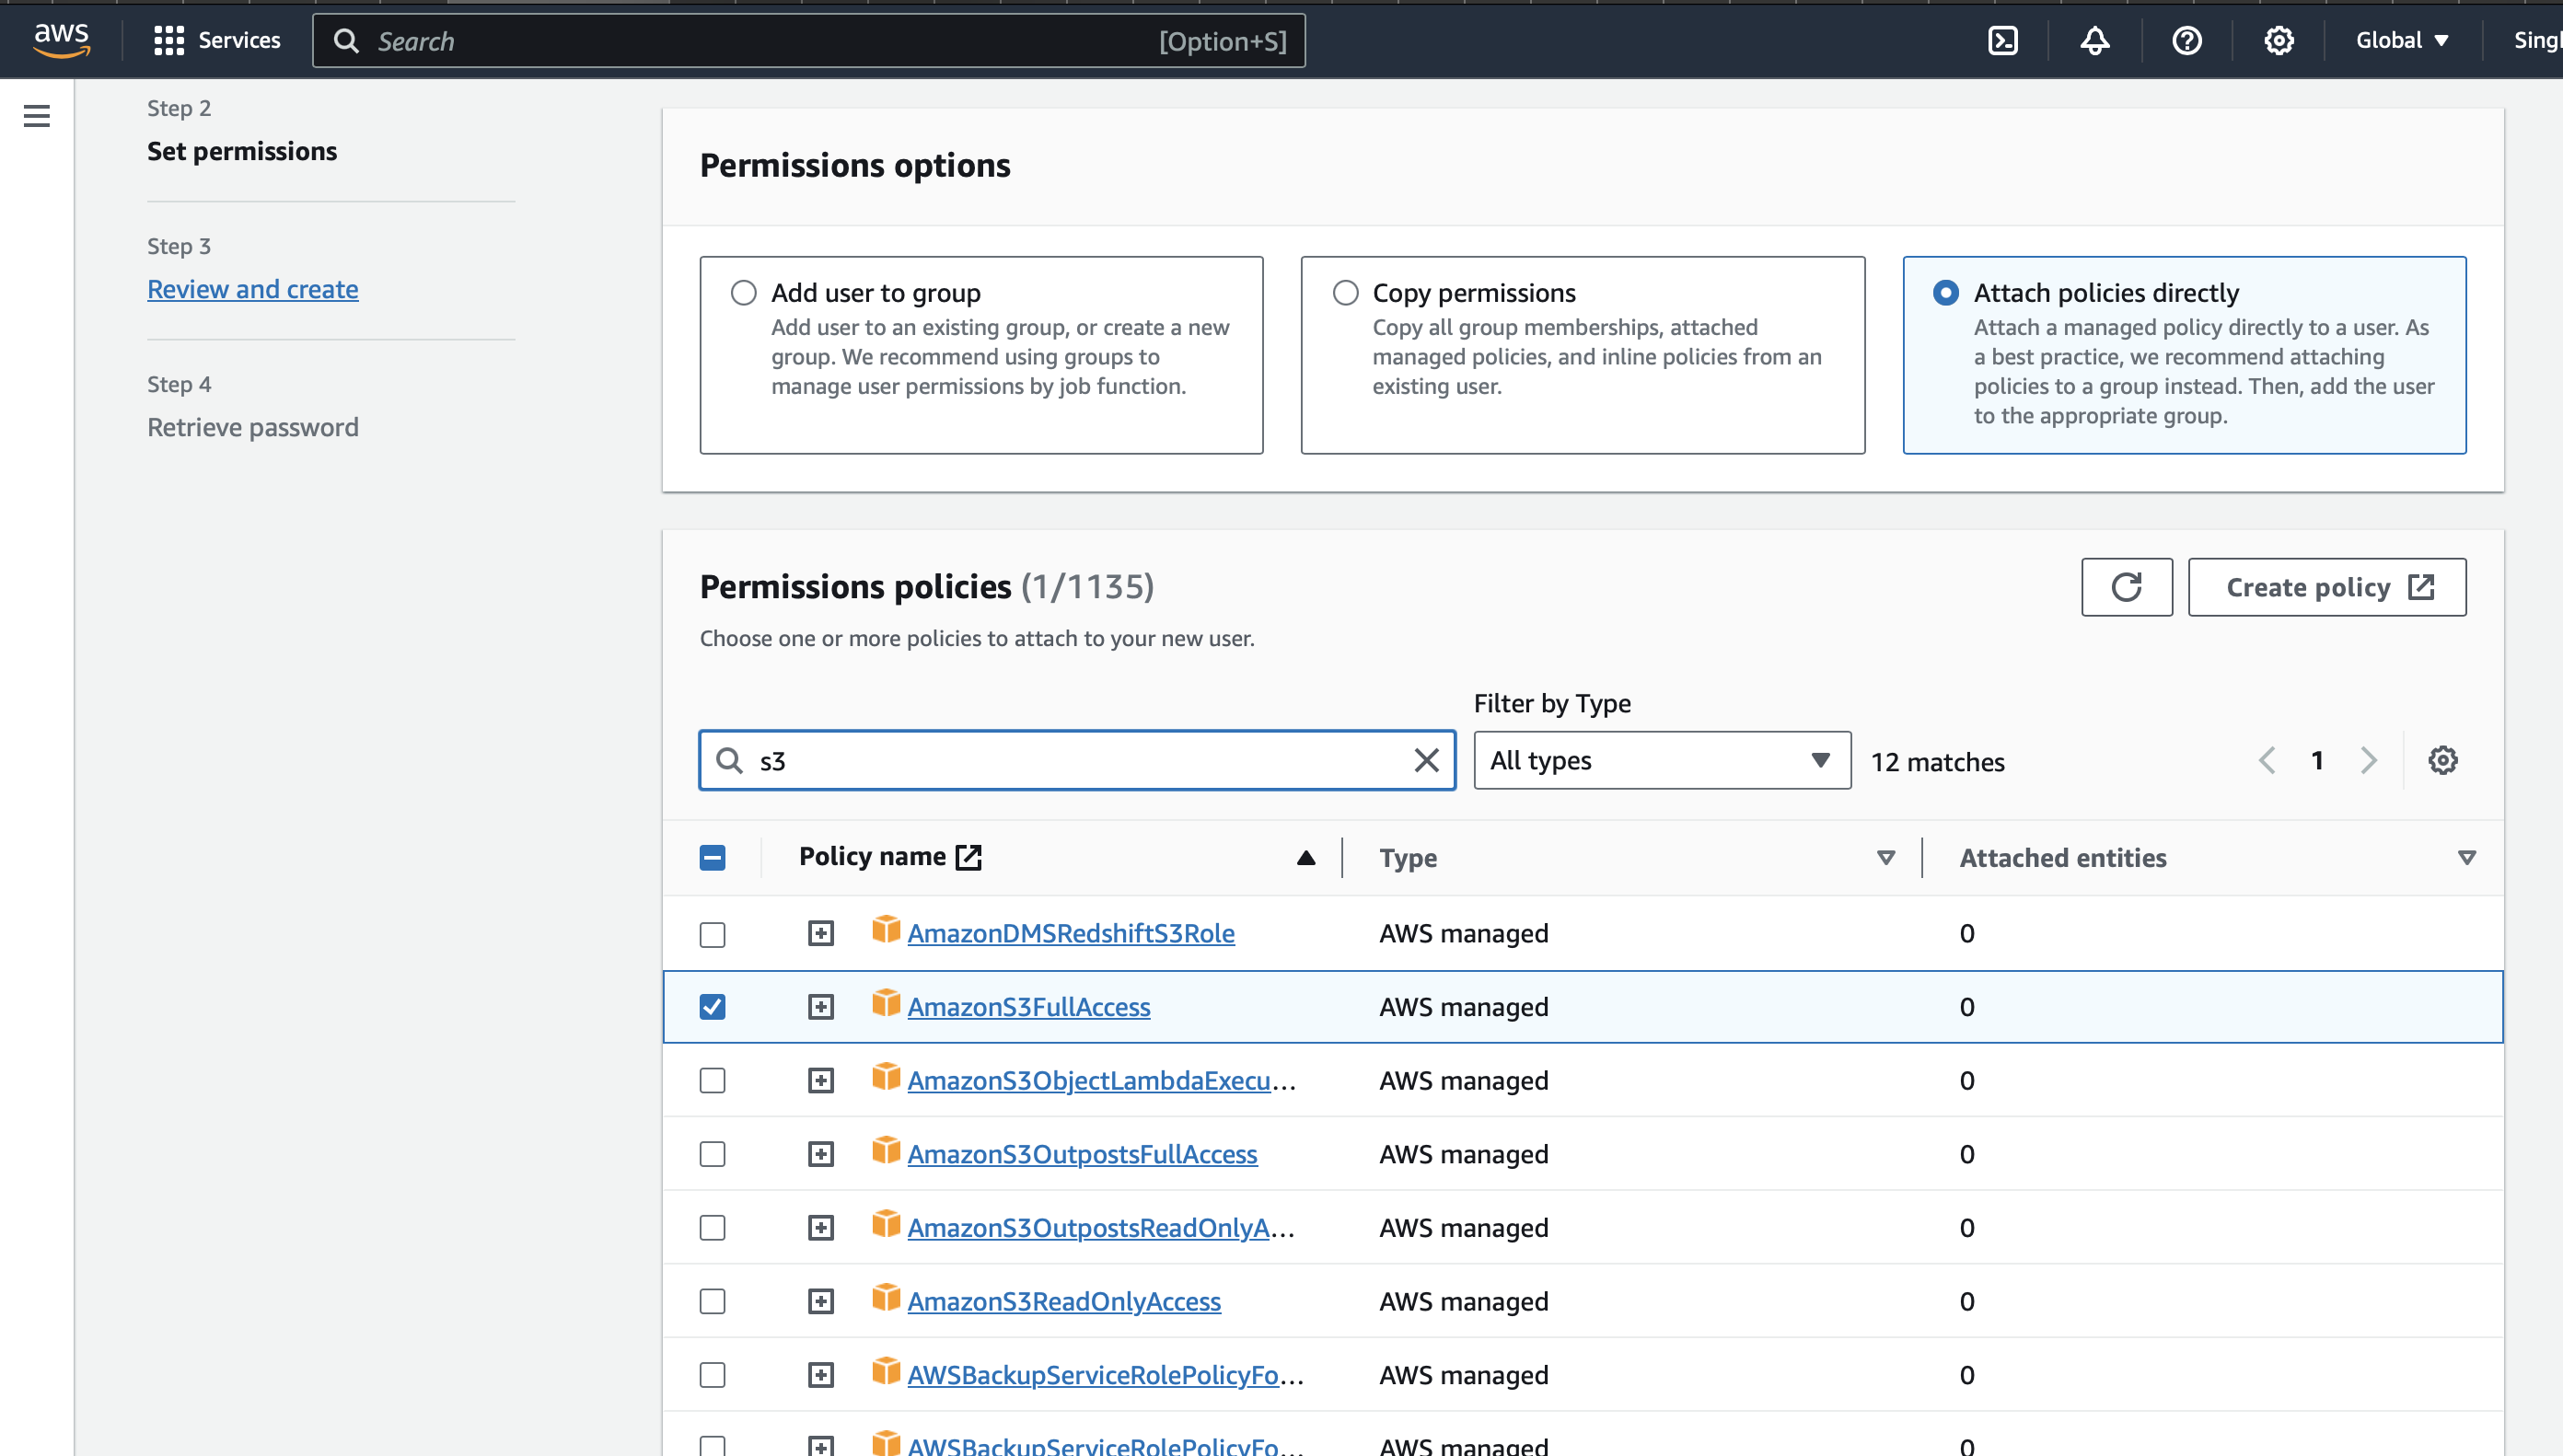
In the next step, we need to provide permission to the user. We can add the user to a group, copy the permissions from an existing user and attach policies directly. Here I am attaching the s3 bucket full access to the user.
If you do not provide any permission iam user will be able to sign in to the aws account but will not be able to perform any task.
Once created you can retrieve the password or download the csv file. The csv file contains the username, password and console sign-in url. The sign-in url contains the 12-digit account id which will be used while logging in with iam user.
Once logged in, it will prompt us to create a new password. This is because we checked the box while creating the user.
Now we will be able to create s3 bucket with the test_user. But if test_user tries to look for instances, AWS won't allow it. This is because the root user provided full access to the s3 bucket only.
That's it!
Yes, that's it. This is how we can create an IAM user and provide them with the required permissions.


