

I recently started exploring Docker. I thought of sharing my learning of running Nginx server using docker.
I am assuming you are familiar with the basic functionality of docker and have docker installed in your local system.
In this article, we will explore how to run the Nginx server using docker and modify its default Html text. Although this can be done in many ways we will see three different ways to do the same.
1. Using Ubuntu image
Creation of Html File
We will create an html file containing the following text. You can change the text as per your requirement. Save the file with index.html
<!DOCTYPE html>
<html>
  <head>
    <title>Welcome to nginx!</title>
    <style>
      body {
        width: 35em;
        margin: 0 auto;
        margin-top: 200px;
        font-family: Tahoma, Verdana, Arial, sans-serif;
      }
      button {
        border: 2px solid #1da1f2;
        border-radius: 5px;
        background-color: white;
        color: #1da1f2;
        padding: 5px 10px;
        text-align: center;
        font-size: 20px;
        margin: 5px 15px;
        cursor: pointer;
      }
    </style>
  </head>
  <body>
    <h1>Learning with Kritika Singhal</h1>
    <p>This is a sample page for running nginx using docker.</p>

    <p>Follow me for more articles</p>

    <a href="https://github.com/Kritika-Singhal" target="_blank"
      ><button>Github</button></a
    >
    <a href="https://twitter.com/_kritikasinghal" target="_blank"
      ><button>Twitter</button>
    </a>
    <p><em>Thank you for reading the blog.</em></p>
  </body>
</html>
Creation of Docker file
Now we will create a Dockerfile.
FROM ubuntu
RUN apt-get update
RUN apt-get install -y nginx
COPY index.html /var/www/html
CMD ["nginx", "-g", "daemon off;"]
Here we are fetching
ubuntuimage and then installingnginxover it. Ubuntu image provides access to/bin/bashas well.COPYcommand is copying the index.html file present in the current directory to the default web page of nginx.CMDis the command to start the nginx server in the foreground.
Running the server
Build the Dockerfile
docker build -t mynginx .
-tspecifies the tag given to the image. This was done to prevent copying image id every time to access the container.dotspecifies that Dockerfile is in the current directory. This will return the image id.
Now create the container out of this image.
docker run -d -p 8081:80 mynginx
doption specifies to start the container in the background.-p 8081:80is mapping the port 8081 of the local system to 80 of nginxmynginxis the tag given in the build command. Here instead of it image id can also be used.
Now go to the and open this link http://localhost:8081
2. Using Alpine image
Alpine images are used most generally because of their small size. Here only the Dockerfile would change else Html file and running the server part would remain the same as the above section.
Creation of Dockerfile
FROM nginx:alpine
COPY index.html  /usr/share/nginx/html/index.html
After running the server check the browser same as above section.
3. Using Alpine image with volume mounting
Instead of copying the folders and files every time with build, we can map them in the container. This means that the container would have a reference to these resources. Volume mounting helps in data backup as well.
Here the html file would remain same as the above two sections.
Creation of Dockerfile
FROM nginx:alpine
EXPOSE 80
Here we would not copy the files as we are mounting them in the container with the below command.
Running the server
docker run -p 8081:80 -v $(pwd):/usr/share/nginx/html mynginx
$(pwd):/usr/share/nginx/htmlspecifies to mount the present working directory with the specified location in the container.- If we would make any changes in the local
index.htmlfile while the server is running all the changes would appear in real-time to the server. This is because hereindex.htmlhas been copied instead a reference has been created to it.
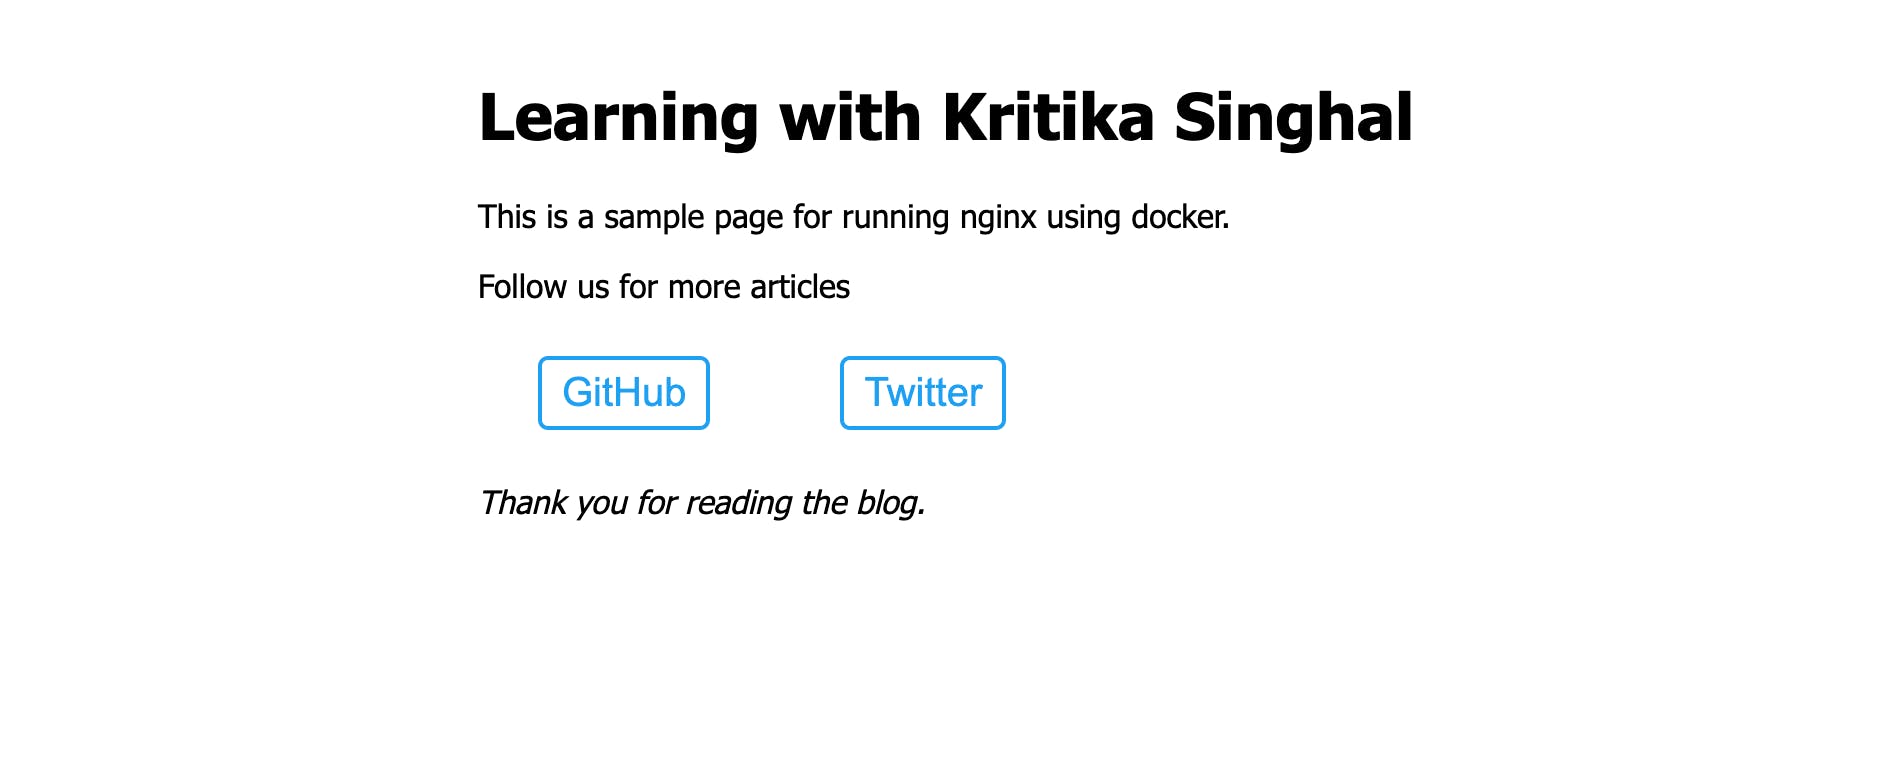
This is the output of all the above three sections which would appear in the browser.